German Shepherd Dog- Full Drill Diamond Painting -
Couldn't load pickup availability
Create your own sparkling artwork with this Diamond Painting Kit. Each set includes a printed canvas, colourful diamonds, pen, tray, and wax — everything you need to make a dazzling, relaxing masterpiece.
When choosing your size, please note that smaller canvases will show less detail than larger ones.
DIY 5D Diamond Painting Kit
-
Full Drill: The entire image is covered with diamonds.
-
Frame not included.
Each kit includes:
-
1 × printed canvas
-
More than enough diamonds (drills) to complete your design
-
1 × pick-up pen, tray, and wax set
Everything you need to complete your diamond painting is included — simply unpack, relax, and start creating your masterpiece.
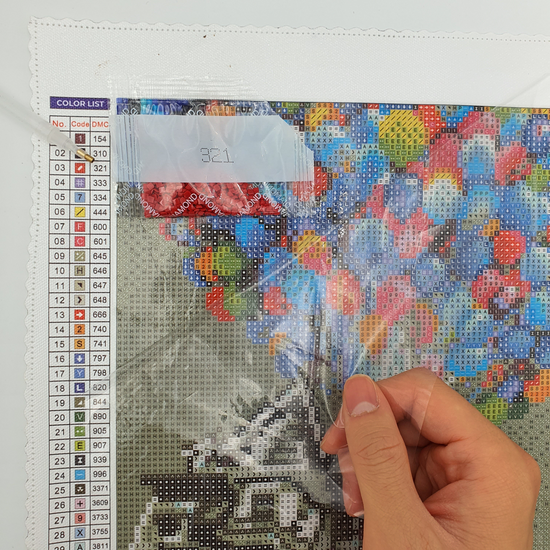
Step 1 - Flatten canvas and peel back cover
Once you’re ready to start, unfurl your canvas make sure it’s flat. Choose a corner to start and peel back the protective film to reveal the sticky adhesive.
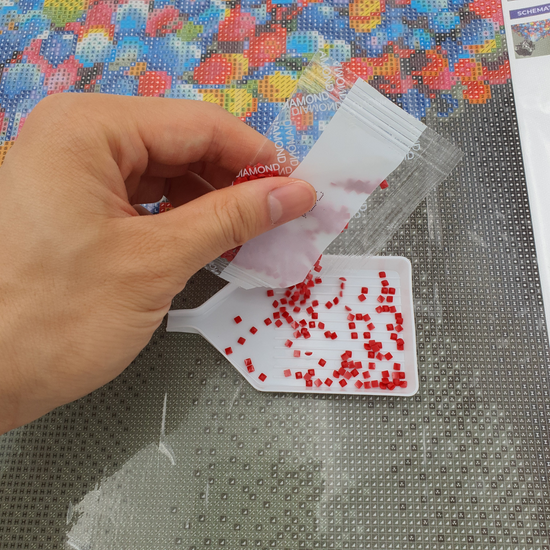
Step 2 - Pick a colour and ready the diamond drills
Pick a colour you want to start working on. Find the matching colour diamond drills in your batch. Cut open the packet and pour out the drills on the tray.
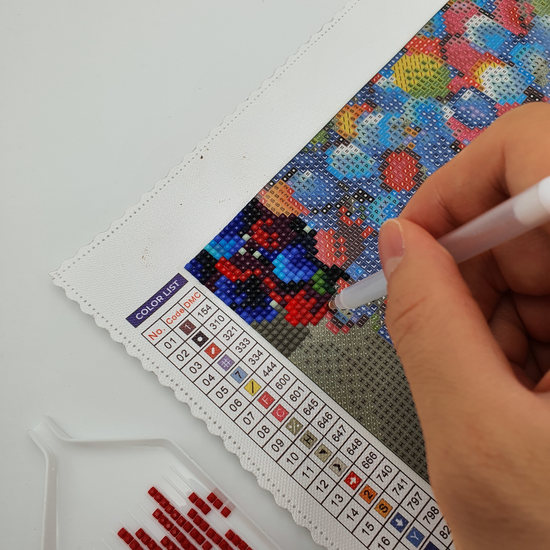
Step 3 - Align the drills and ready the stylus pen
Gently shake the tray from side to side to until some of them are pointing upwards (flat side down). Take your hollow-tipped pen and push it into the wax.
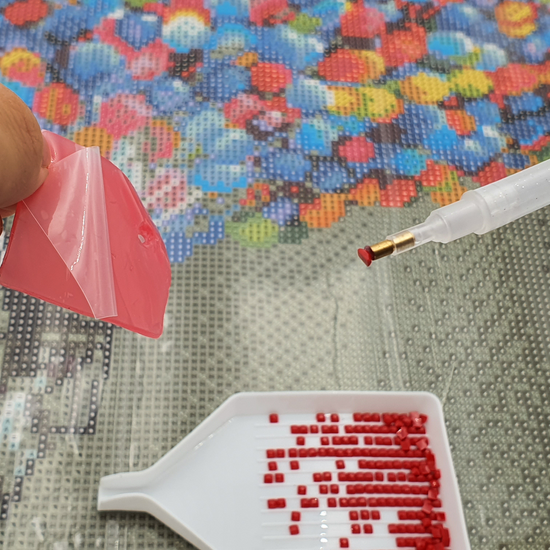
Step 4 - 'Paint' in the picture!
Using the waxed up pen, pick up each drill one by one and apply it to the matching symbol on the canvas, directly on the adhesive. Keep working through until the complete picture is filled in. Patience is key - it's worth it!
Step 1 - Flatten canvas and peel back cover
Once you’re ready to start, unfurl your canvas make sure it’s flat. Choose a corner to start and peel back the protective film to reveal the sticky adhesive.
Step 2 - Pick a colour and ready the diamond drills
Pick a colour you want to start working on. Find the matching colour diamond drills in your batch. Cut open the packet and pour out the drills on the tray.
Step 3 - Align the drills and ready the stylus pen
Gently shake the tray from side to side to until some of them are pointing upwards (flat side down). Take your hollow-tipped pen and push it into the wax.
Step 4 - 'Paint' in the picture!
Using the waxed up pen, pick up each drill one by one and apply it to the matching symbol on the canvas, directly on the adhesive. Keep working through until the complete picture is filled in. Patience is key - it's worth it!
Shipping Information
- $10 AUD (or FREE on orders over $99) – Tracked delivery
- $12 NZD (or FREE on orders over $99) – Tracked delivery
We aim to ship your order within 1 business days.
Depending on stock and destination, delivery may take 7–15 days from the time your order is shipped