Nutcracker Magic Christmas Cards
Couldn't load pickup availability

Create six stunning Christmas greeting cards with this beautiful Diamond Dotz-style card making kit. Each card features an elegant festive design that comes to life as you place the sparkling resin gems, creating a handmade card that's as enjoyable to make as it is to give.
Perfect for sending heartfelt Christmas wishes to family and friends, these cards are also a lovely way to enjoy a relaxing creative project during the festive season. The shimmering diamond embellishments add a luxurious touch, making each finished card a keepsake that recipients will treasure.
With everything included, this kit is suitable for beginners and experienced crafters alike.
Finished card size: 15 x 15cm each
Kit includes:
- 6 greeting cards (6 different designs)
- 6 envelopes
- Colour-coded resin diamonds
- Diamond applicator pen
- Wax
- Diamond tray
- Easy-to-follow instructions
Features:
- Sparkling partial diamond design
- Premium quality cardstock
- Relaxing and enjoyable to create
- Ideal for Christmas gifting or sending festive greetings
- Suitable for beginners
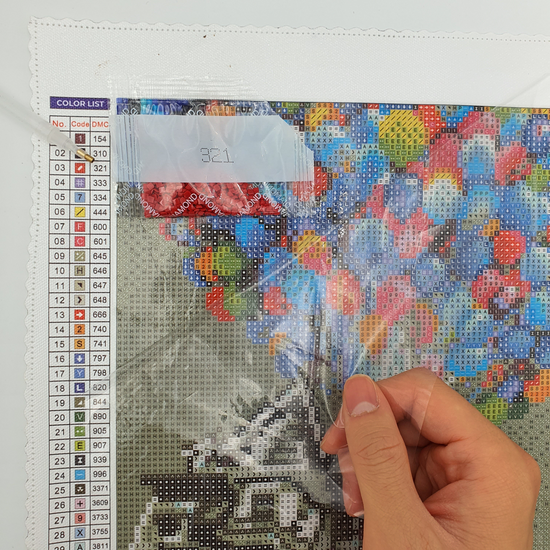
Step 1 - Flatten canvas and peel back cover
Once you’re ready to start, unfurl your canvas make sure it’s flat. Choose a corner to start and peel back the protective film to reveal the sticky adhesive.
Step 2 - Pick a colour and ready the diamond drills
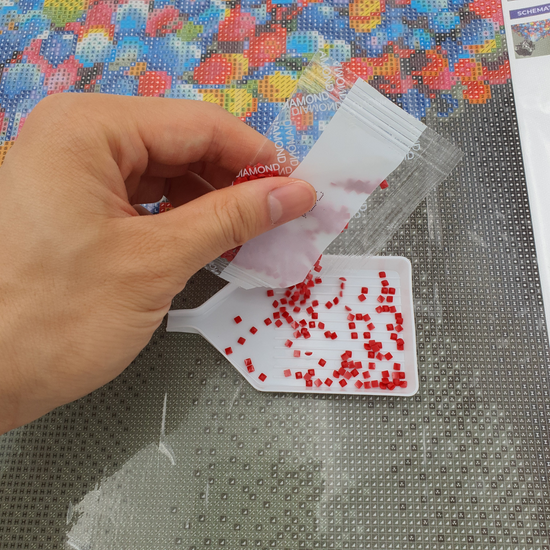
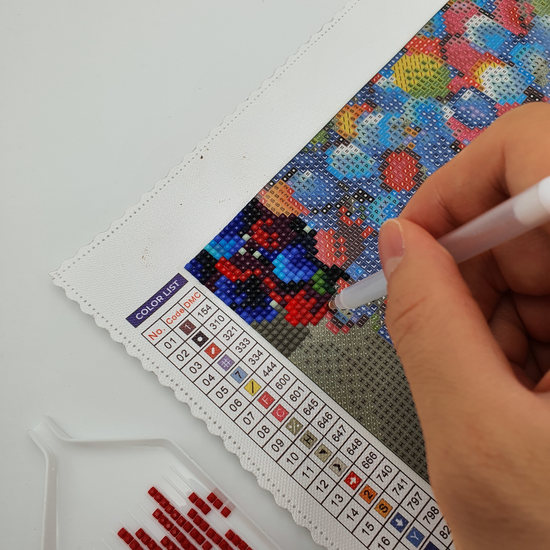
Pick a colour you want to start working on. Find the matching colour diamond drills in your batch. Cut open the packet and pour out the drills on the tray.
Step 3 - Align the drills and ready the stylus pen
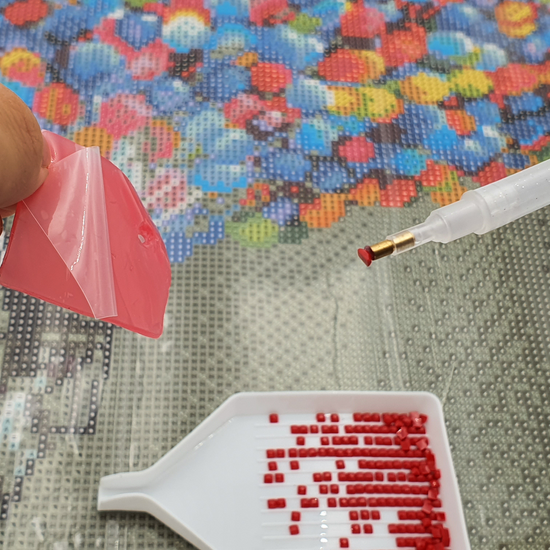
Gently shake the tray from side to side to until some of them are pointing upwards (flat side down). Take your hollow-tipped pen and push it into the wax.
Step 4 - 'Paint' in the picture!
Using the waxed up pen, pick up each drill one by one and apply it to the matching symbol on the canvas, directly on the adhesive. Keep working through until the complete picture is filled in. Patience is key - it's worth it!
Step 1 - Flatten canvas and peel back cover
Once you’re ready to start, unfurl your canvas make sure it’s flat. Choose a corner to start and peel back the protective film to reveal the sticky adhesive.
Step 2 - Pick a colour and ready the diamond drills
Pick a colour you want to start working on. Find the matching colour diamond drills in your batch. Cut open the packet and pour out the drills on the tray.
Step 3 - Align the drills and ready the stylus pen
Gently shake the tray from side to side to until some of them are pointing upwards (flat side down). Take your hollow-tipped pen and push it into the wax.
Step 4 - 'Paint' in the picture!
Using the waxed up pen, pick up each drill one by one and apply it to the matching symbol on the canvas, directly on the adhesive. Keep working through until the complete picture is filled in. Patience is key - it's worth it!
Step 1 - Flatten canvas and peel back cover
Once you’re ready to start, unfurl your canvas make sure it’s flat. Choose a corner to start and peel back the protective film to reveal the sticky adhesive.
Step 2 - Pick a colour and ready the diamond drills
Pick a colour you want to start working on. Find the matching colour diamond drills in your batch. Cut open the packet and pour out the drills on the tray.
Step 3 - Align the drills and ready the stylus pen
Gently shake the tray from side to side to until some of them are pointing upwards (flat side down). Take your hollow-tipped pen and push it into the wax.
Step 4 - 'Paint' in the picture!
Using the waxed up pen, pick up each drill one by one and apply it to the matching symbol on the canvas, directly on the adhesive. Keep working through until the complete picture is filled in. Patience is key - it's worth it!
Step 1 - Flatten canvas and peel back cover
Once you’re ready to start, unfurl your canvas make sure it’s flat. Choose a corner to start and peel back the protective film to reveal the sticky adhesive.
Step 2 - Pick a colour and ready the diamond drills
Pick a colour you want to start working on. Find the matching colour diamond drills in your batch. Cut open the packet and pour out the drills on the tray.
Step 3 - Align the drills and ready the stylus pen
Gently shake the tray from side to side to until some of them are pointing upwards (flat side down). Take your hollow-tipped pen and push it into the wax.
Step 4 - 'Paint' in the picture!
Using the waxed up pen, pick up each drill one by one and apply it to the matching symbol on the canvas, directly on the adhesive. Keep working through until the complete picture is filled in. Patience is key - it's worth it!
Shipping Information
- $10 AUD (or FREE on orders over $99) – Tracked delivery
- $12 NZD (or FREE on orders over $99) – Tracked delivery
We aim to ship your order within 1 business days.
Depending on stock and destination, delivery may take 7–15 days from the time your order is shipped